Two weeks after moving to Brighton, a sewer backup turned into a full basement bathroom rebuild.
This is a true story. No sooner had I moved here to Colorado than the house I was living in had a big problem: plumbing in the basement failed. Four people live in the house, two of them downstairs in basement bedrooms; we call them the cellar trolls. But the cellar trolls had a nice bathroom of their own that went pretty haywire.
I came home one night, just two weeks after moving to Brighton, to find a pretty bad smell in the house and a strange person sitting in a chair. Lo and behold, it was a plumber talking with my nephew about a sewer backup.
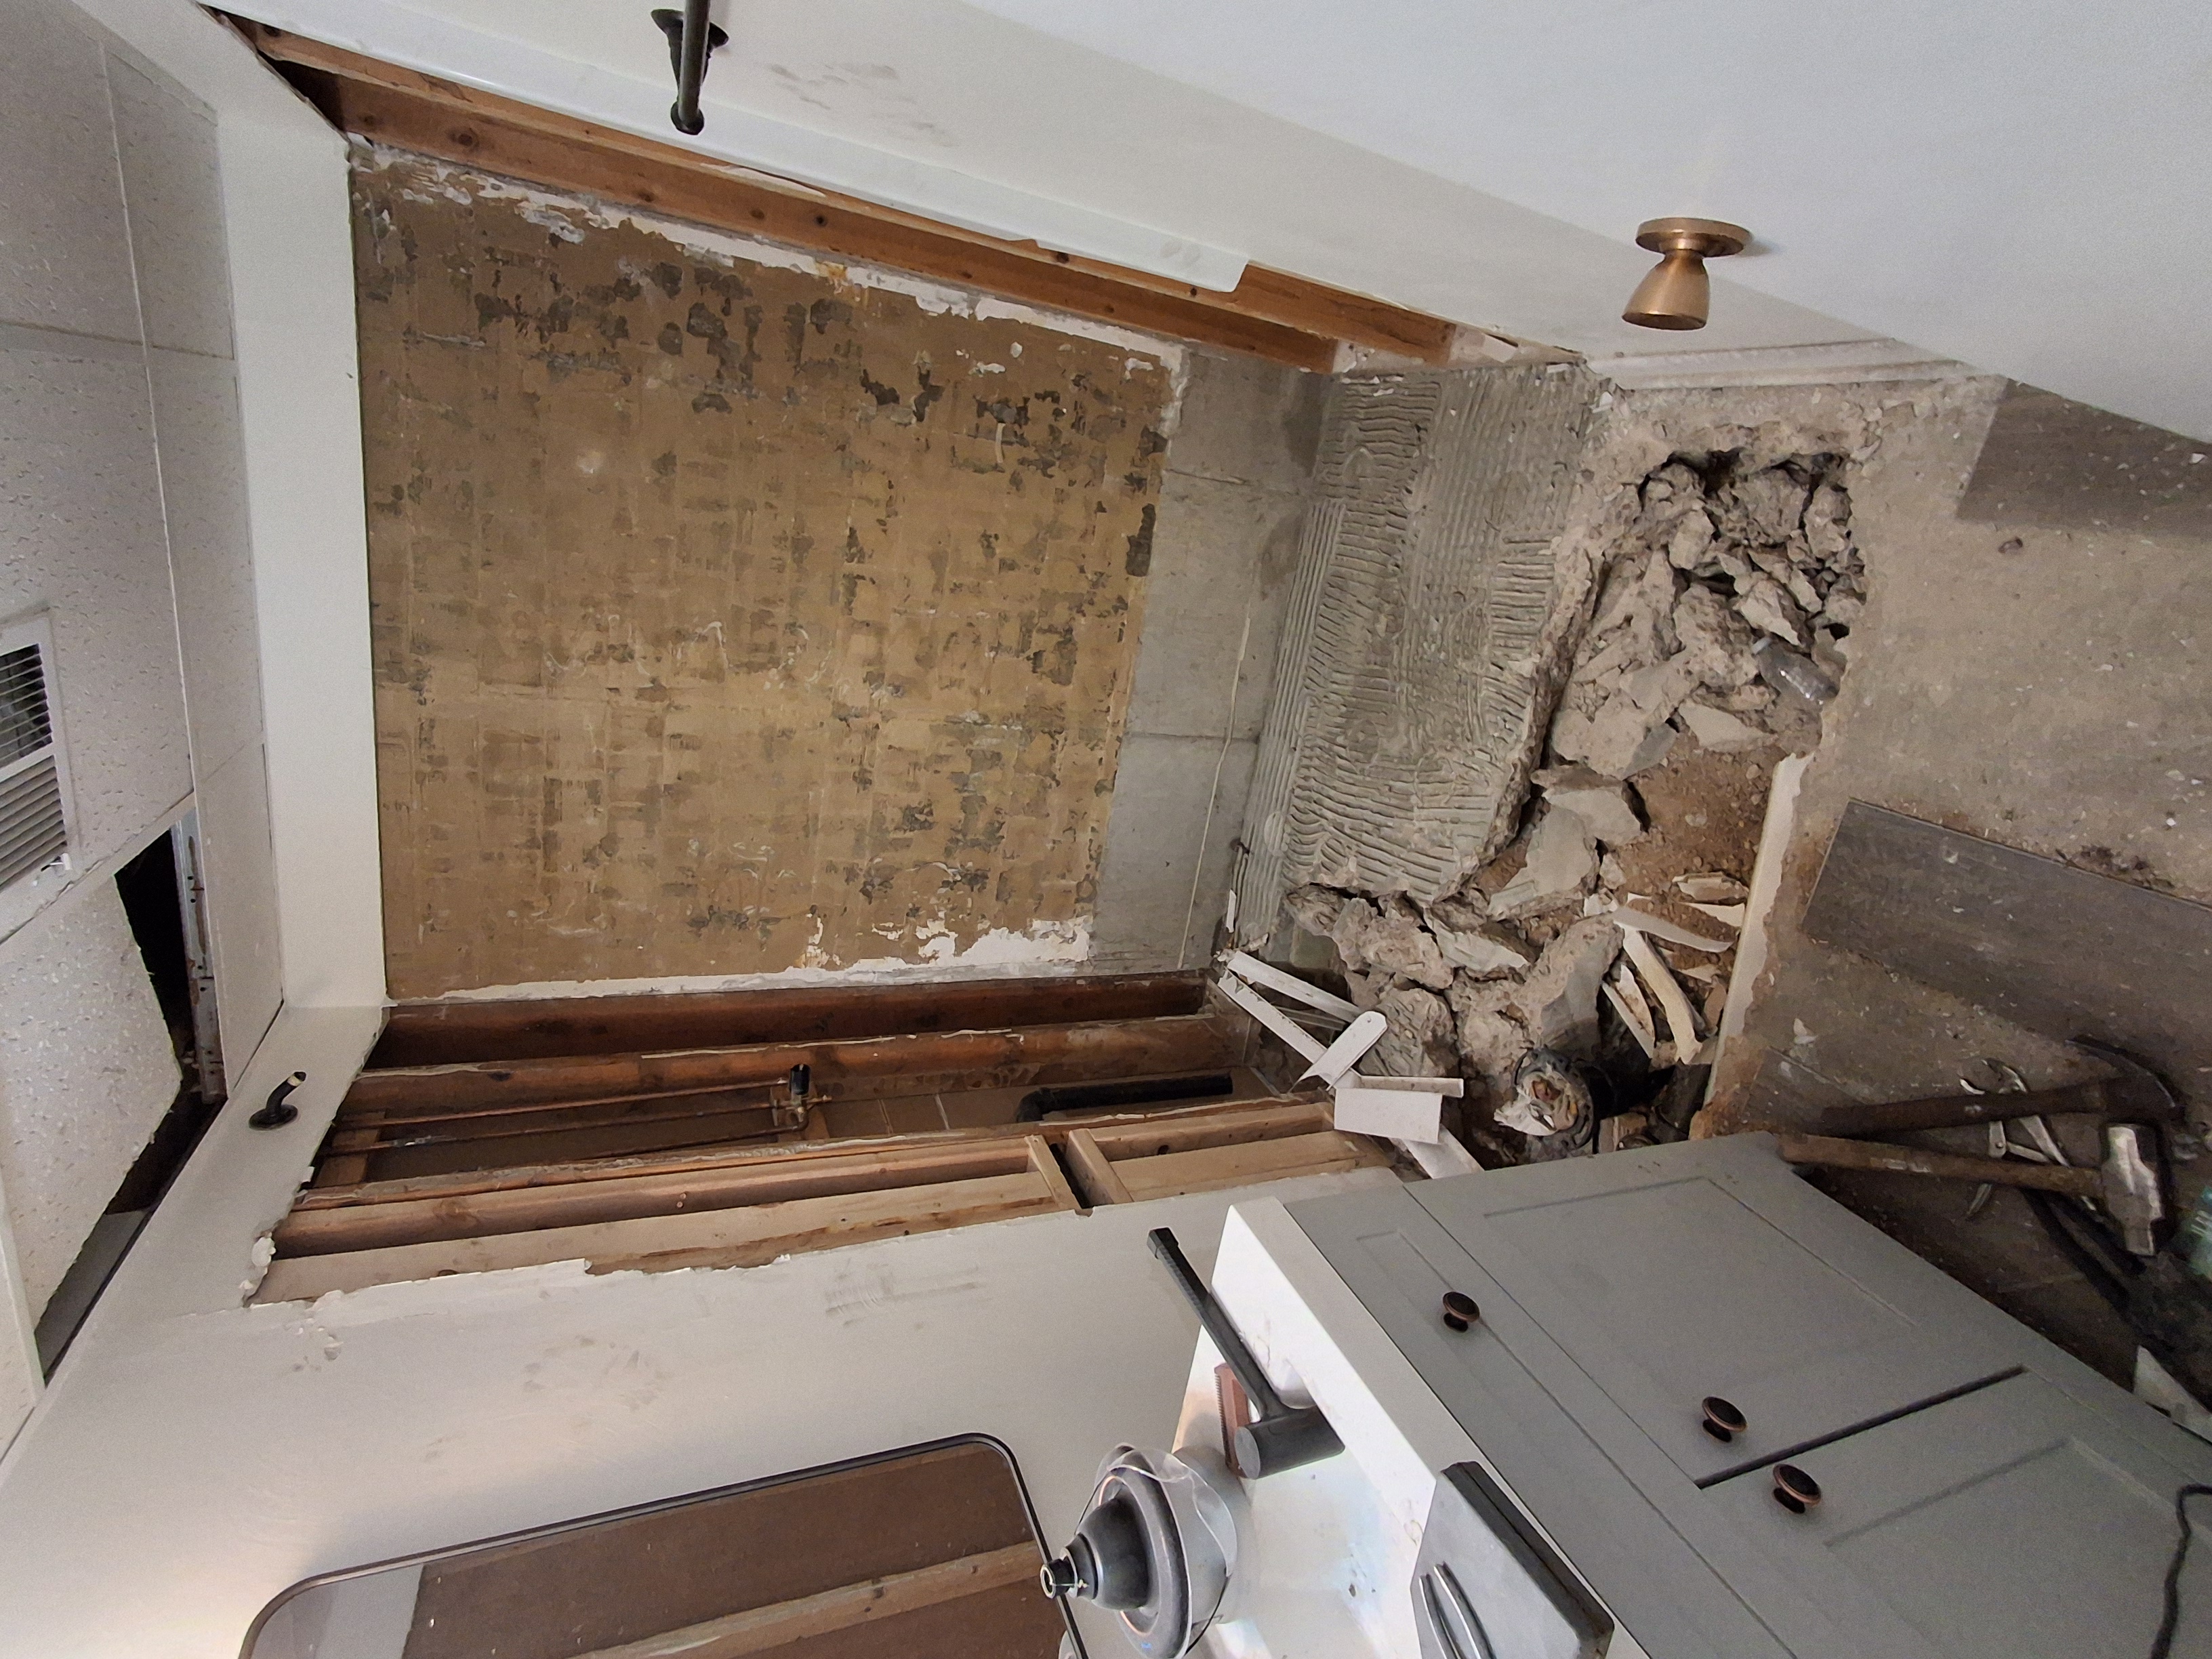
We went downstairs to inspect the damage, and it was not a pretty sight. The plumbers brought in a crew that trenched out two rooms—a laundry room and a bathroom—and that bathroom was a total nightmare scenario.
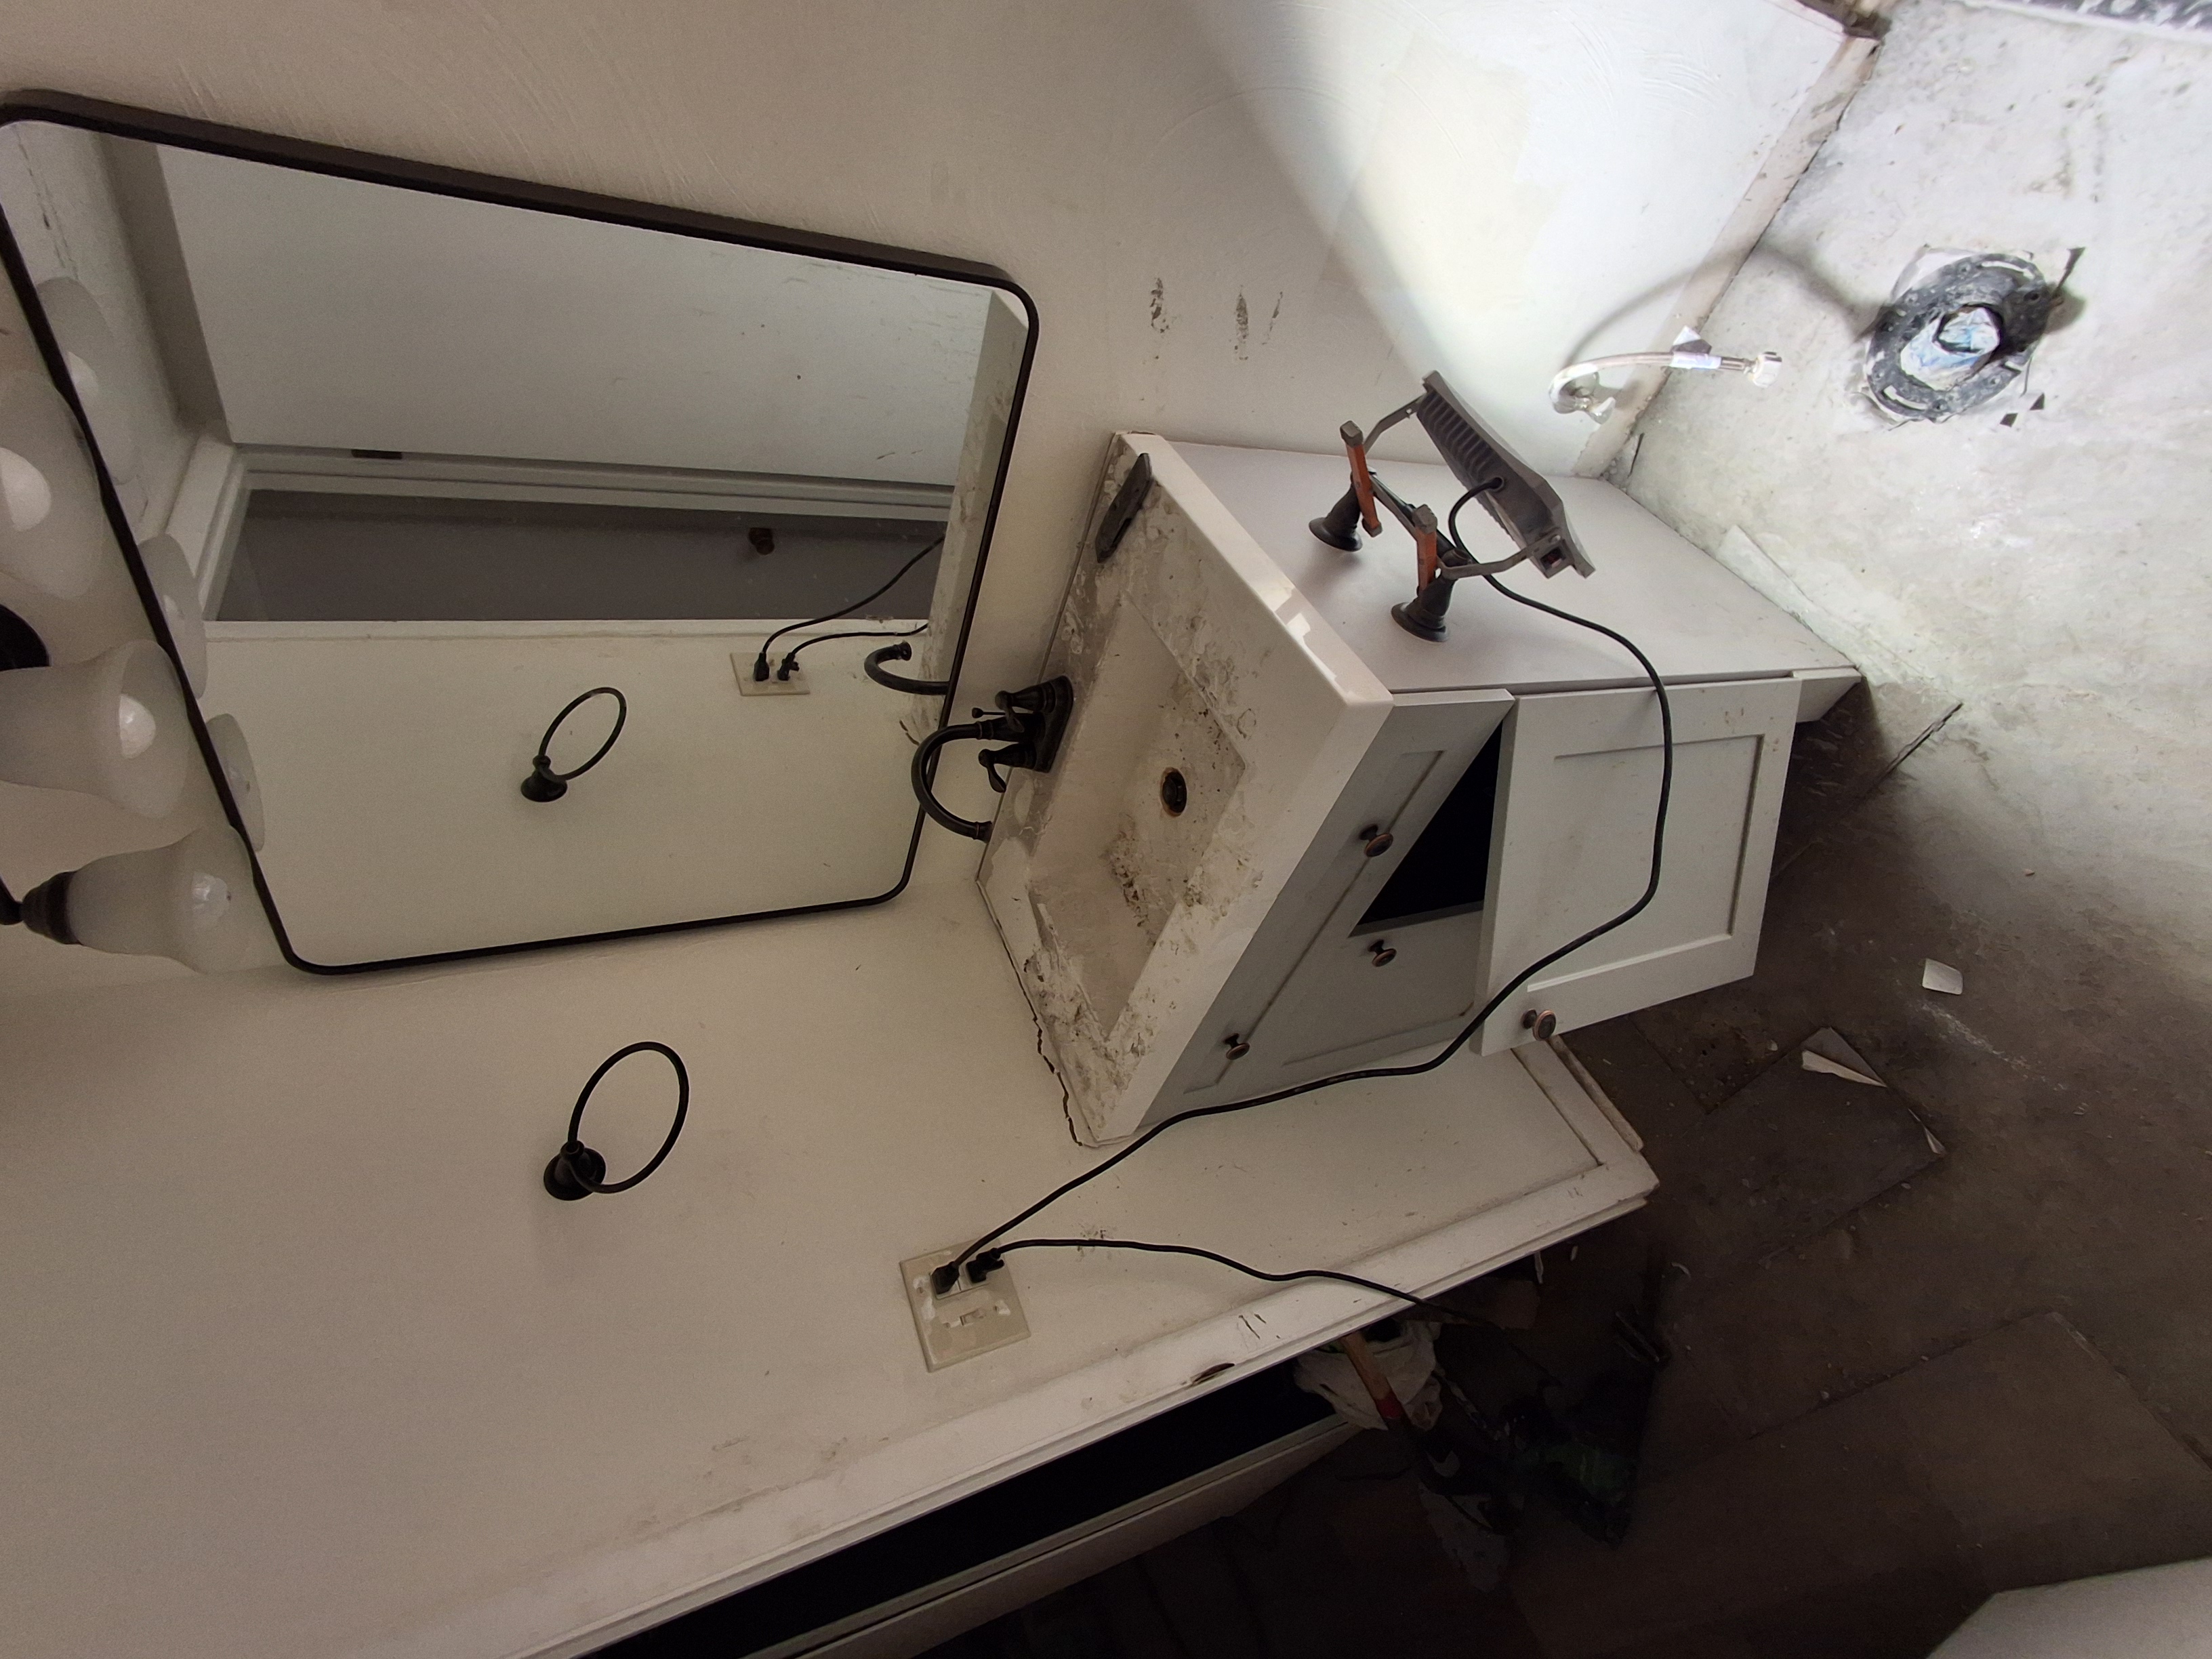
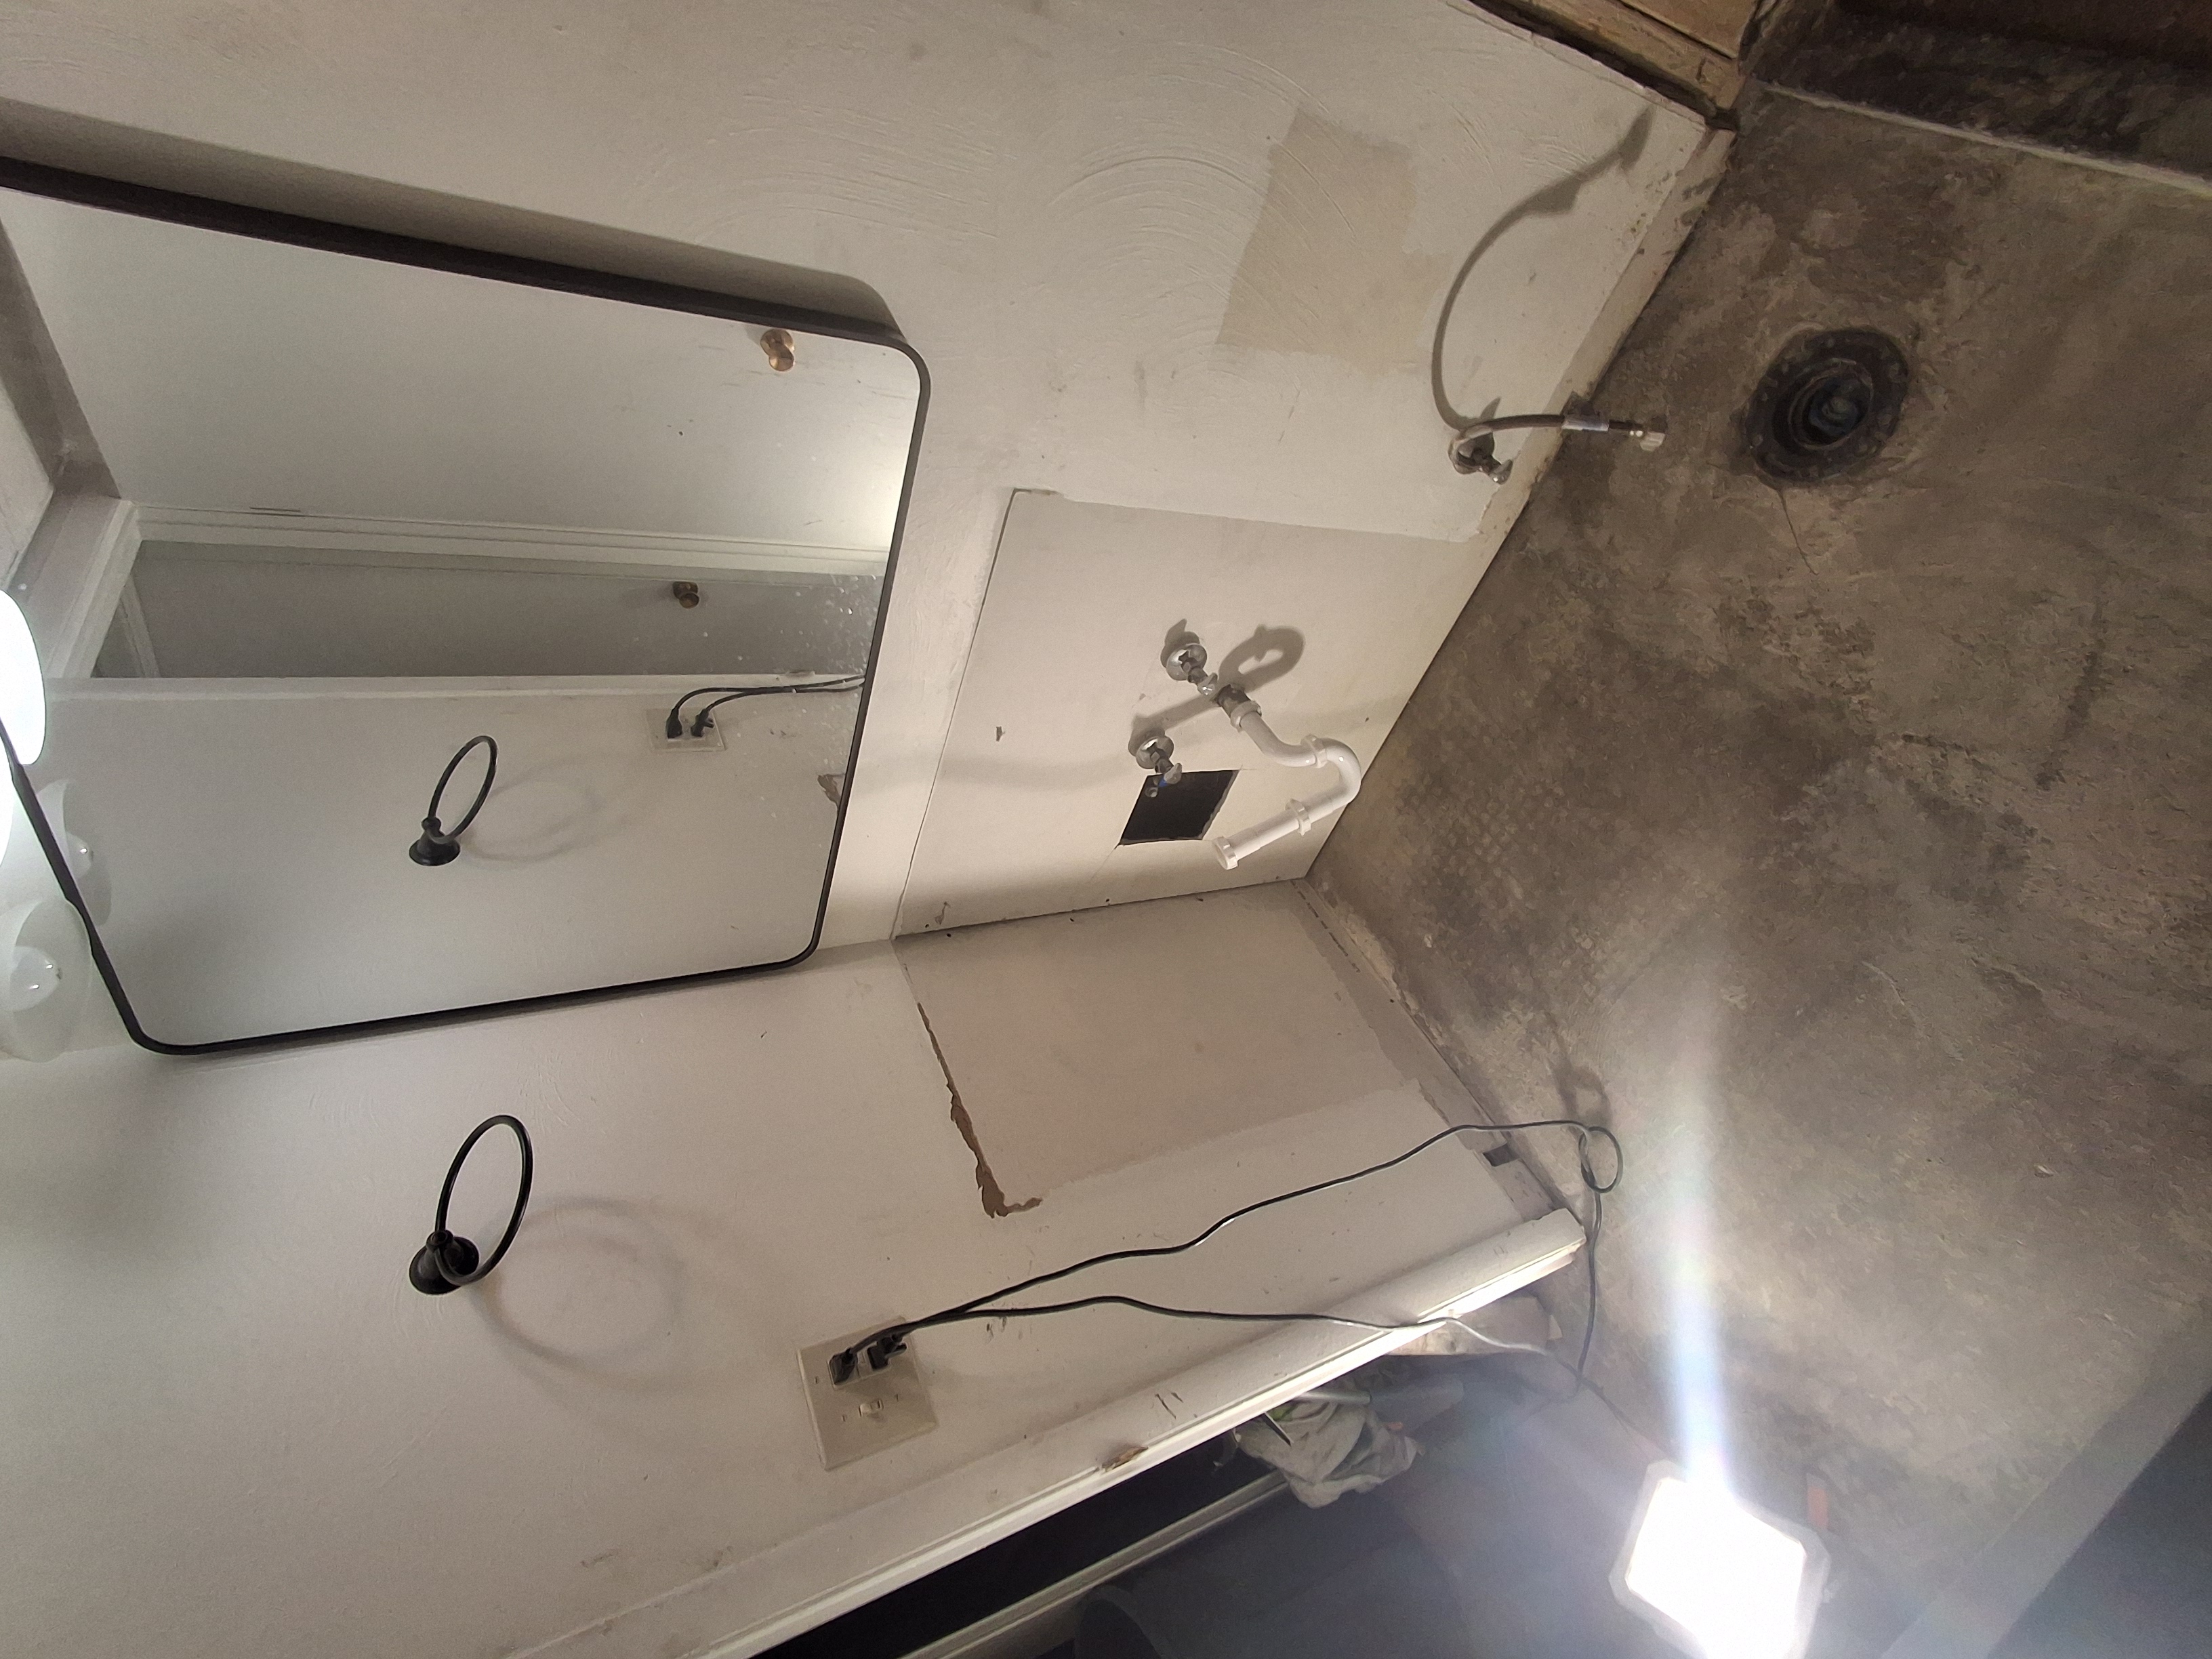
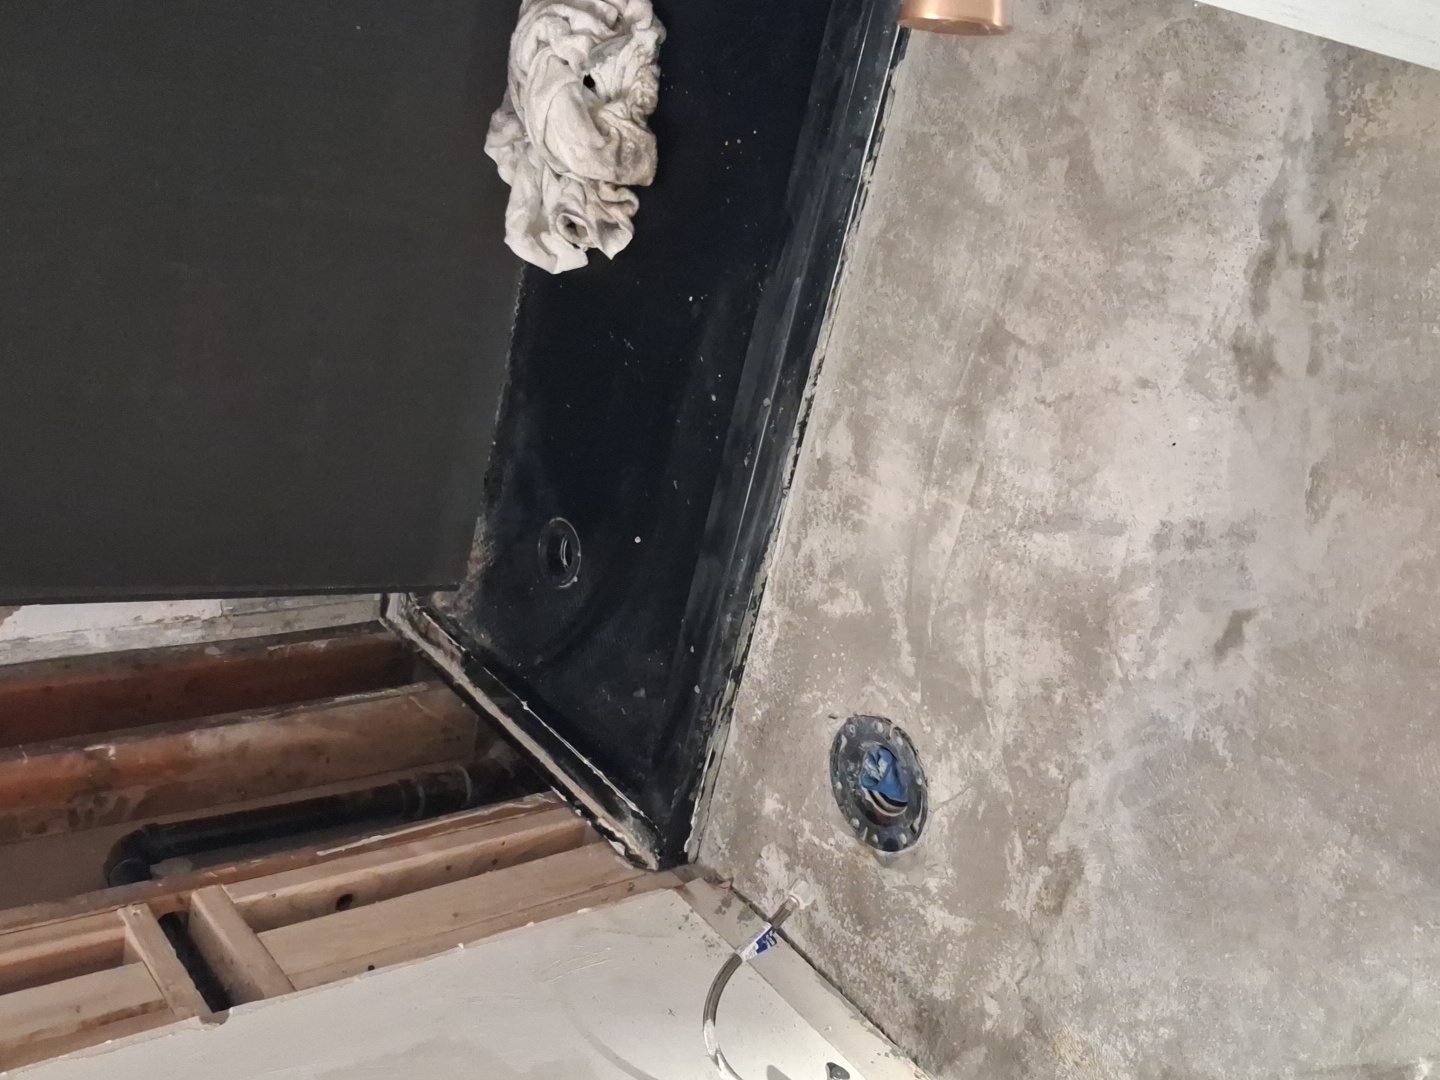
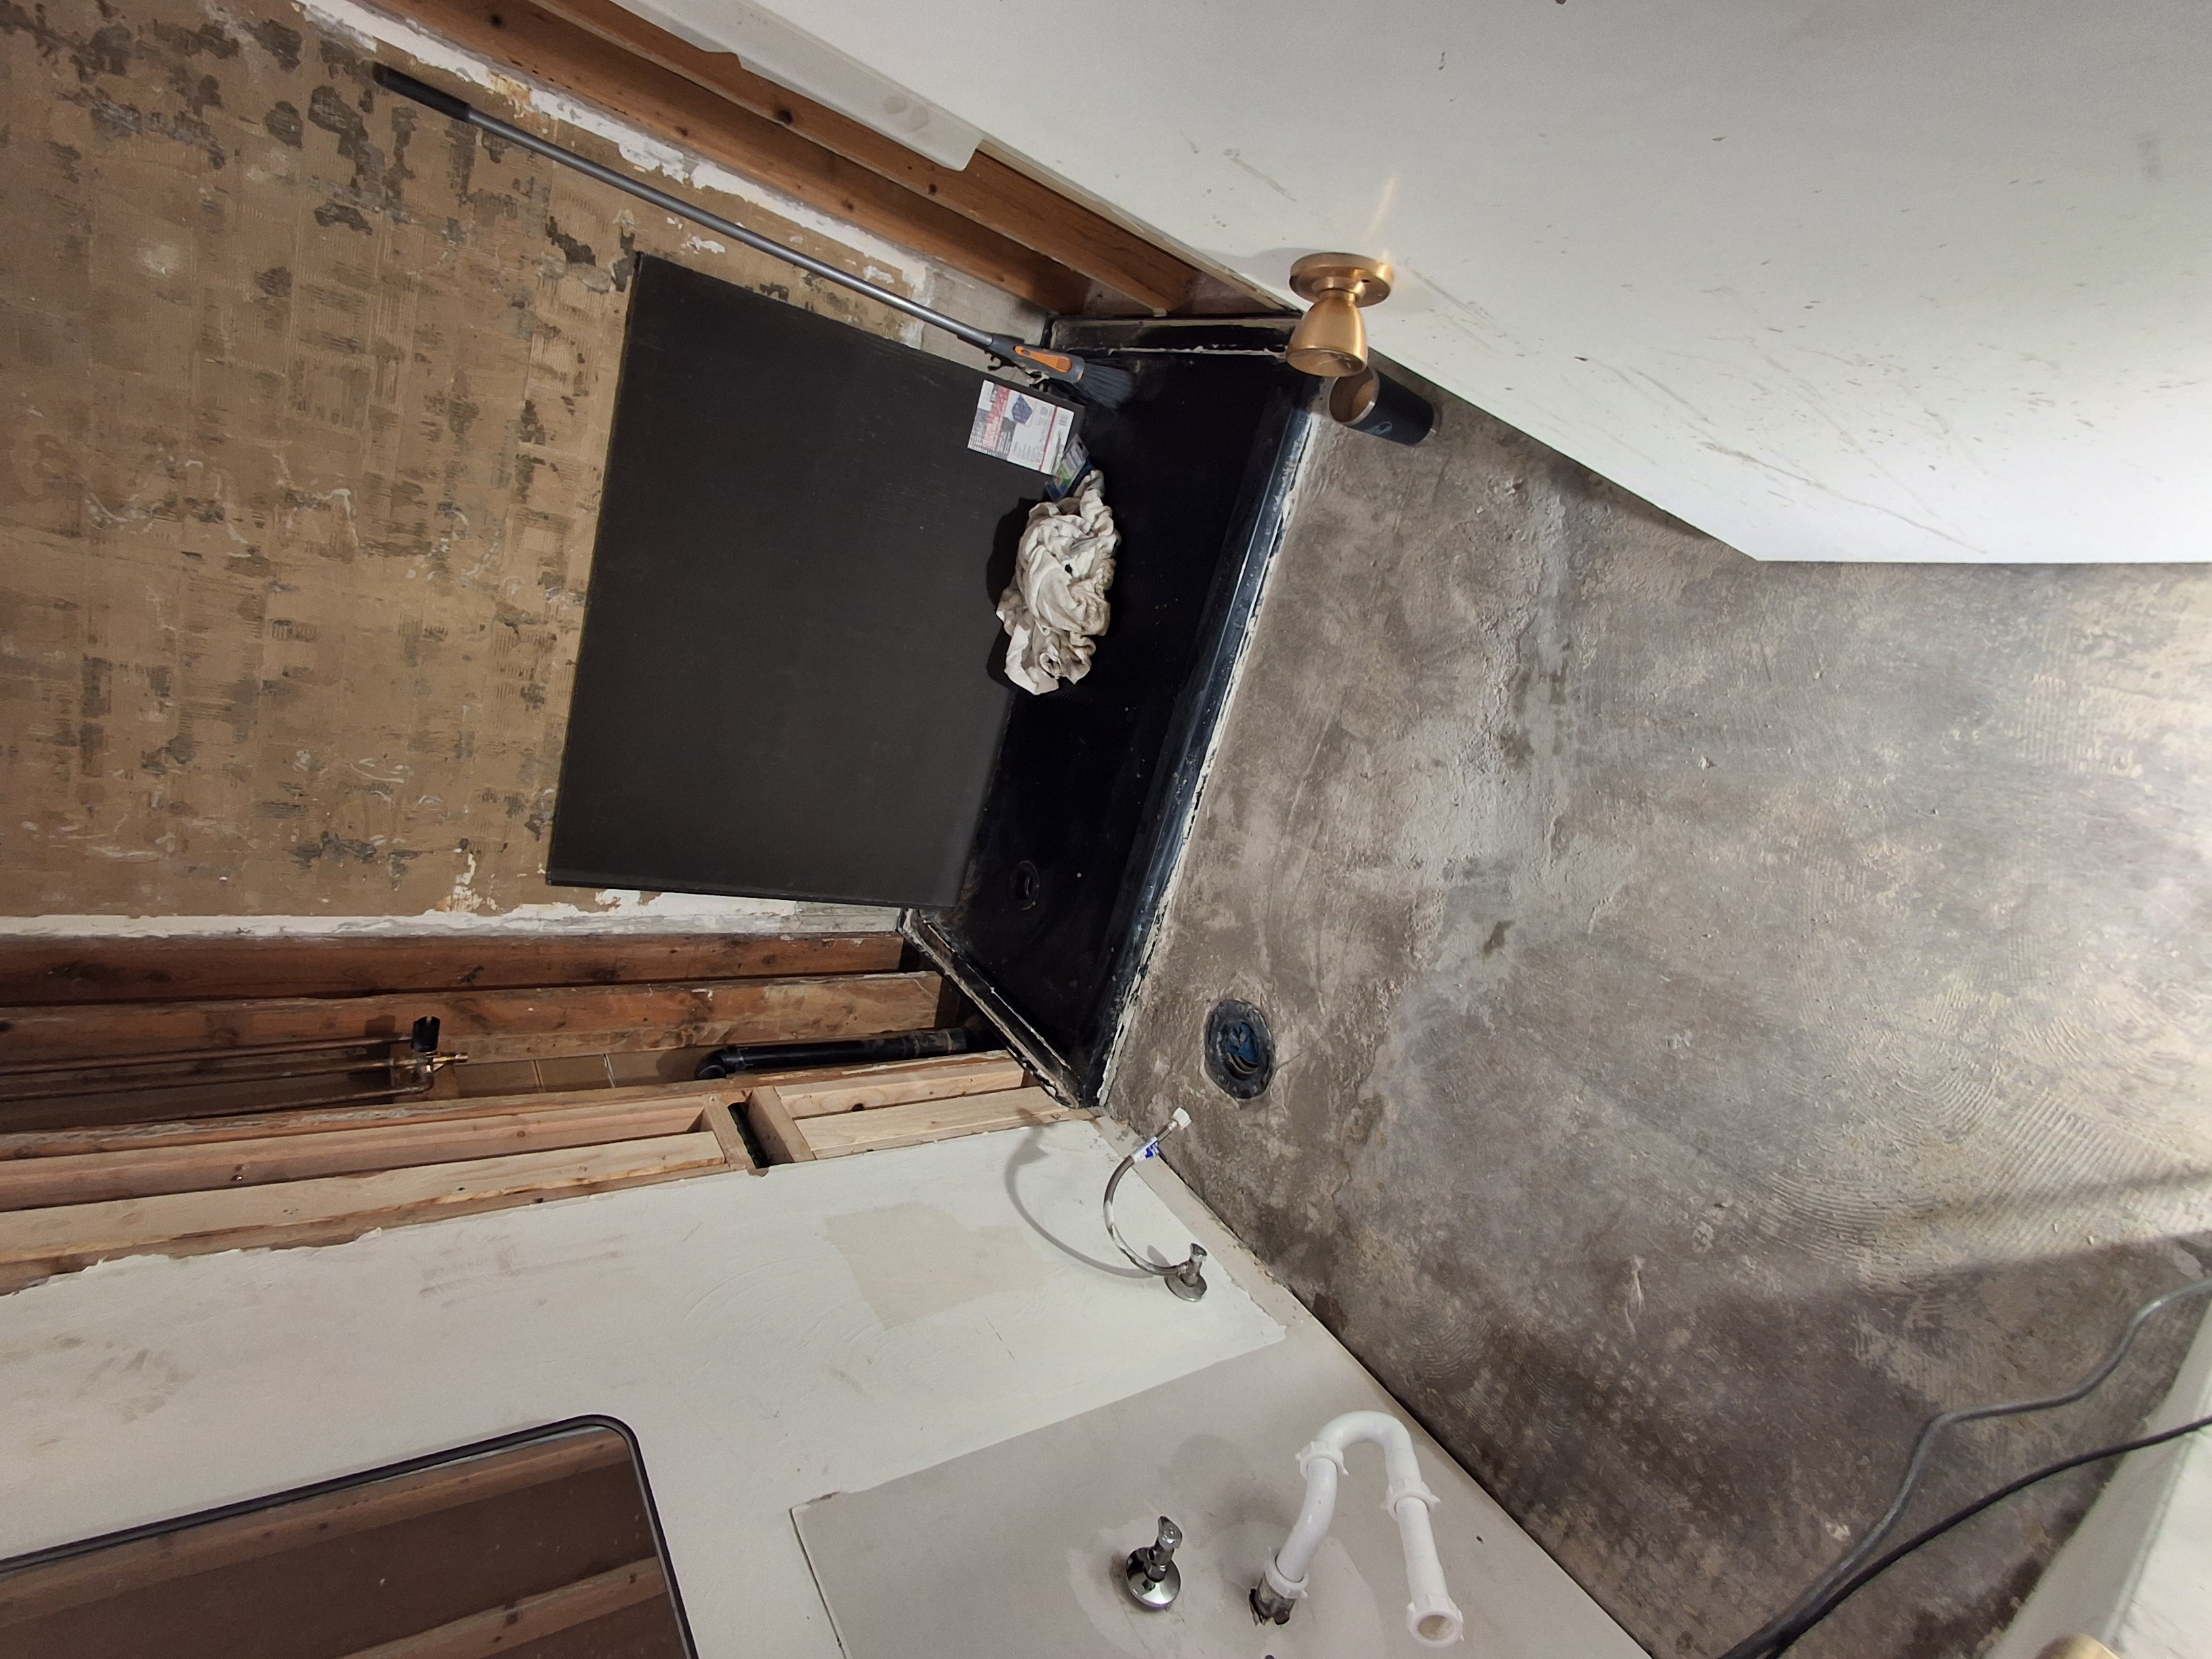
First, I had to chip out and remove the damaged concrete, tear out the vanity, and pull out the old, ruined shower liner. After all the plumbing repairs were completed and passed under permit, I could get back to work pouring new concrete.
Opening up the bathroom during demolitionRemoving the damaged vanityOpening the shower and floor
But right as that was going on, a piece broke underneath the shower pan. That meant we had to pull the entire pan, pour a solid base under it, and reset it. Naturally, that meant we had to completely rebuild the shower from scratch as well.
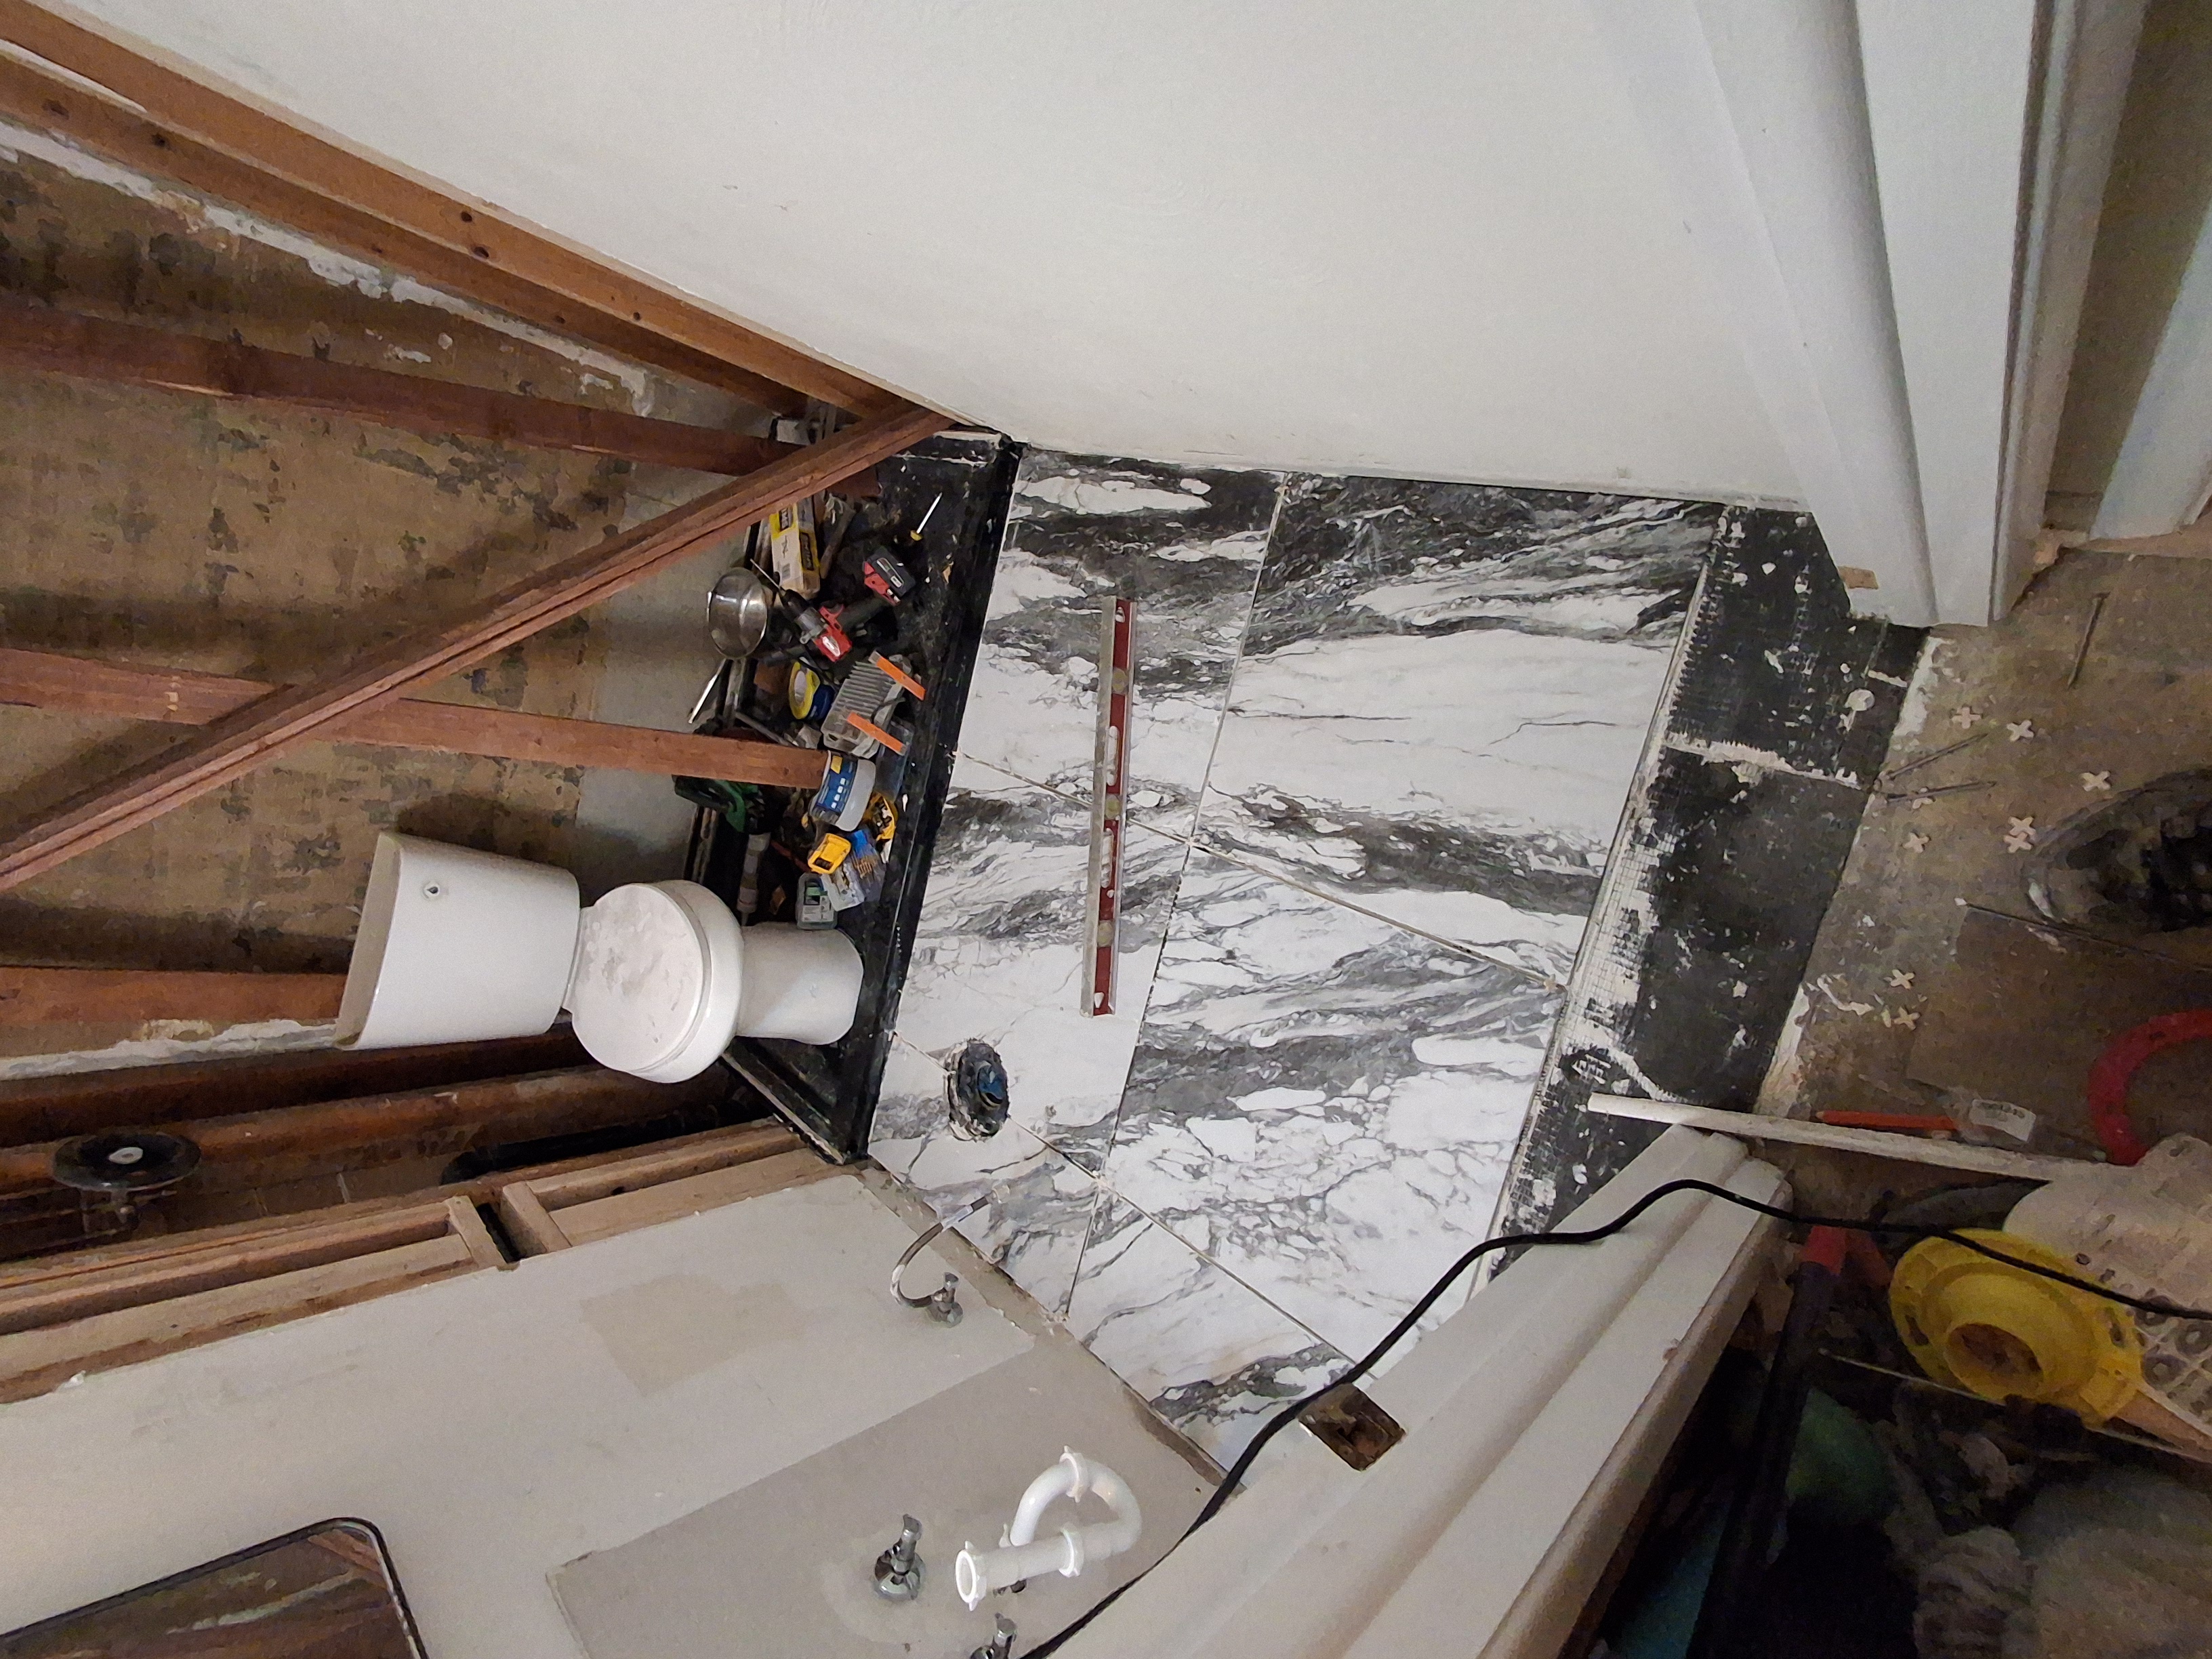
It was a setback, but I knew I could handle it. We decided to take the opportunity to upgrade the old floor from laminate to a nice, clean tile floor. It actually turned out to be fun because we got creative and picked out pieces that made a great design.
We carefully prepped the floor with a cushion underneath to help prevent cracking. Once all the prep work was done, the floor tiles went down and things started shaping up.
Then it was back to tackling the shower. Basement showers bring unique challenges because, to do them correctly and up to code, you have to leave an air gap behind the shower walls against the concrete foundation.
Preparing the shower floor and baseTile work begins to bring the bathroom together
To handle this, I bought pressure-treated fence boards as a cost-effective option for furring strips to create a 3/4-inch gap. The hardest part was drilling into the concrete walls to secure them.
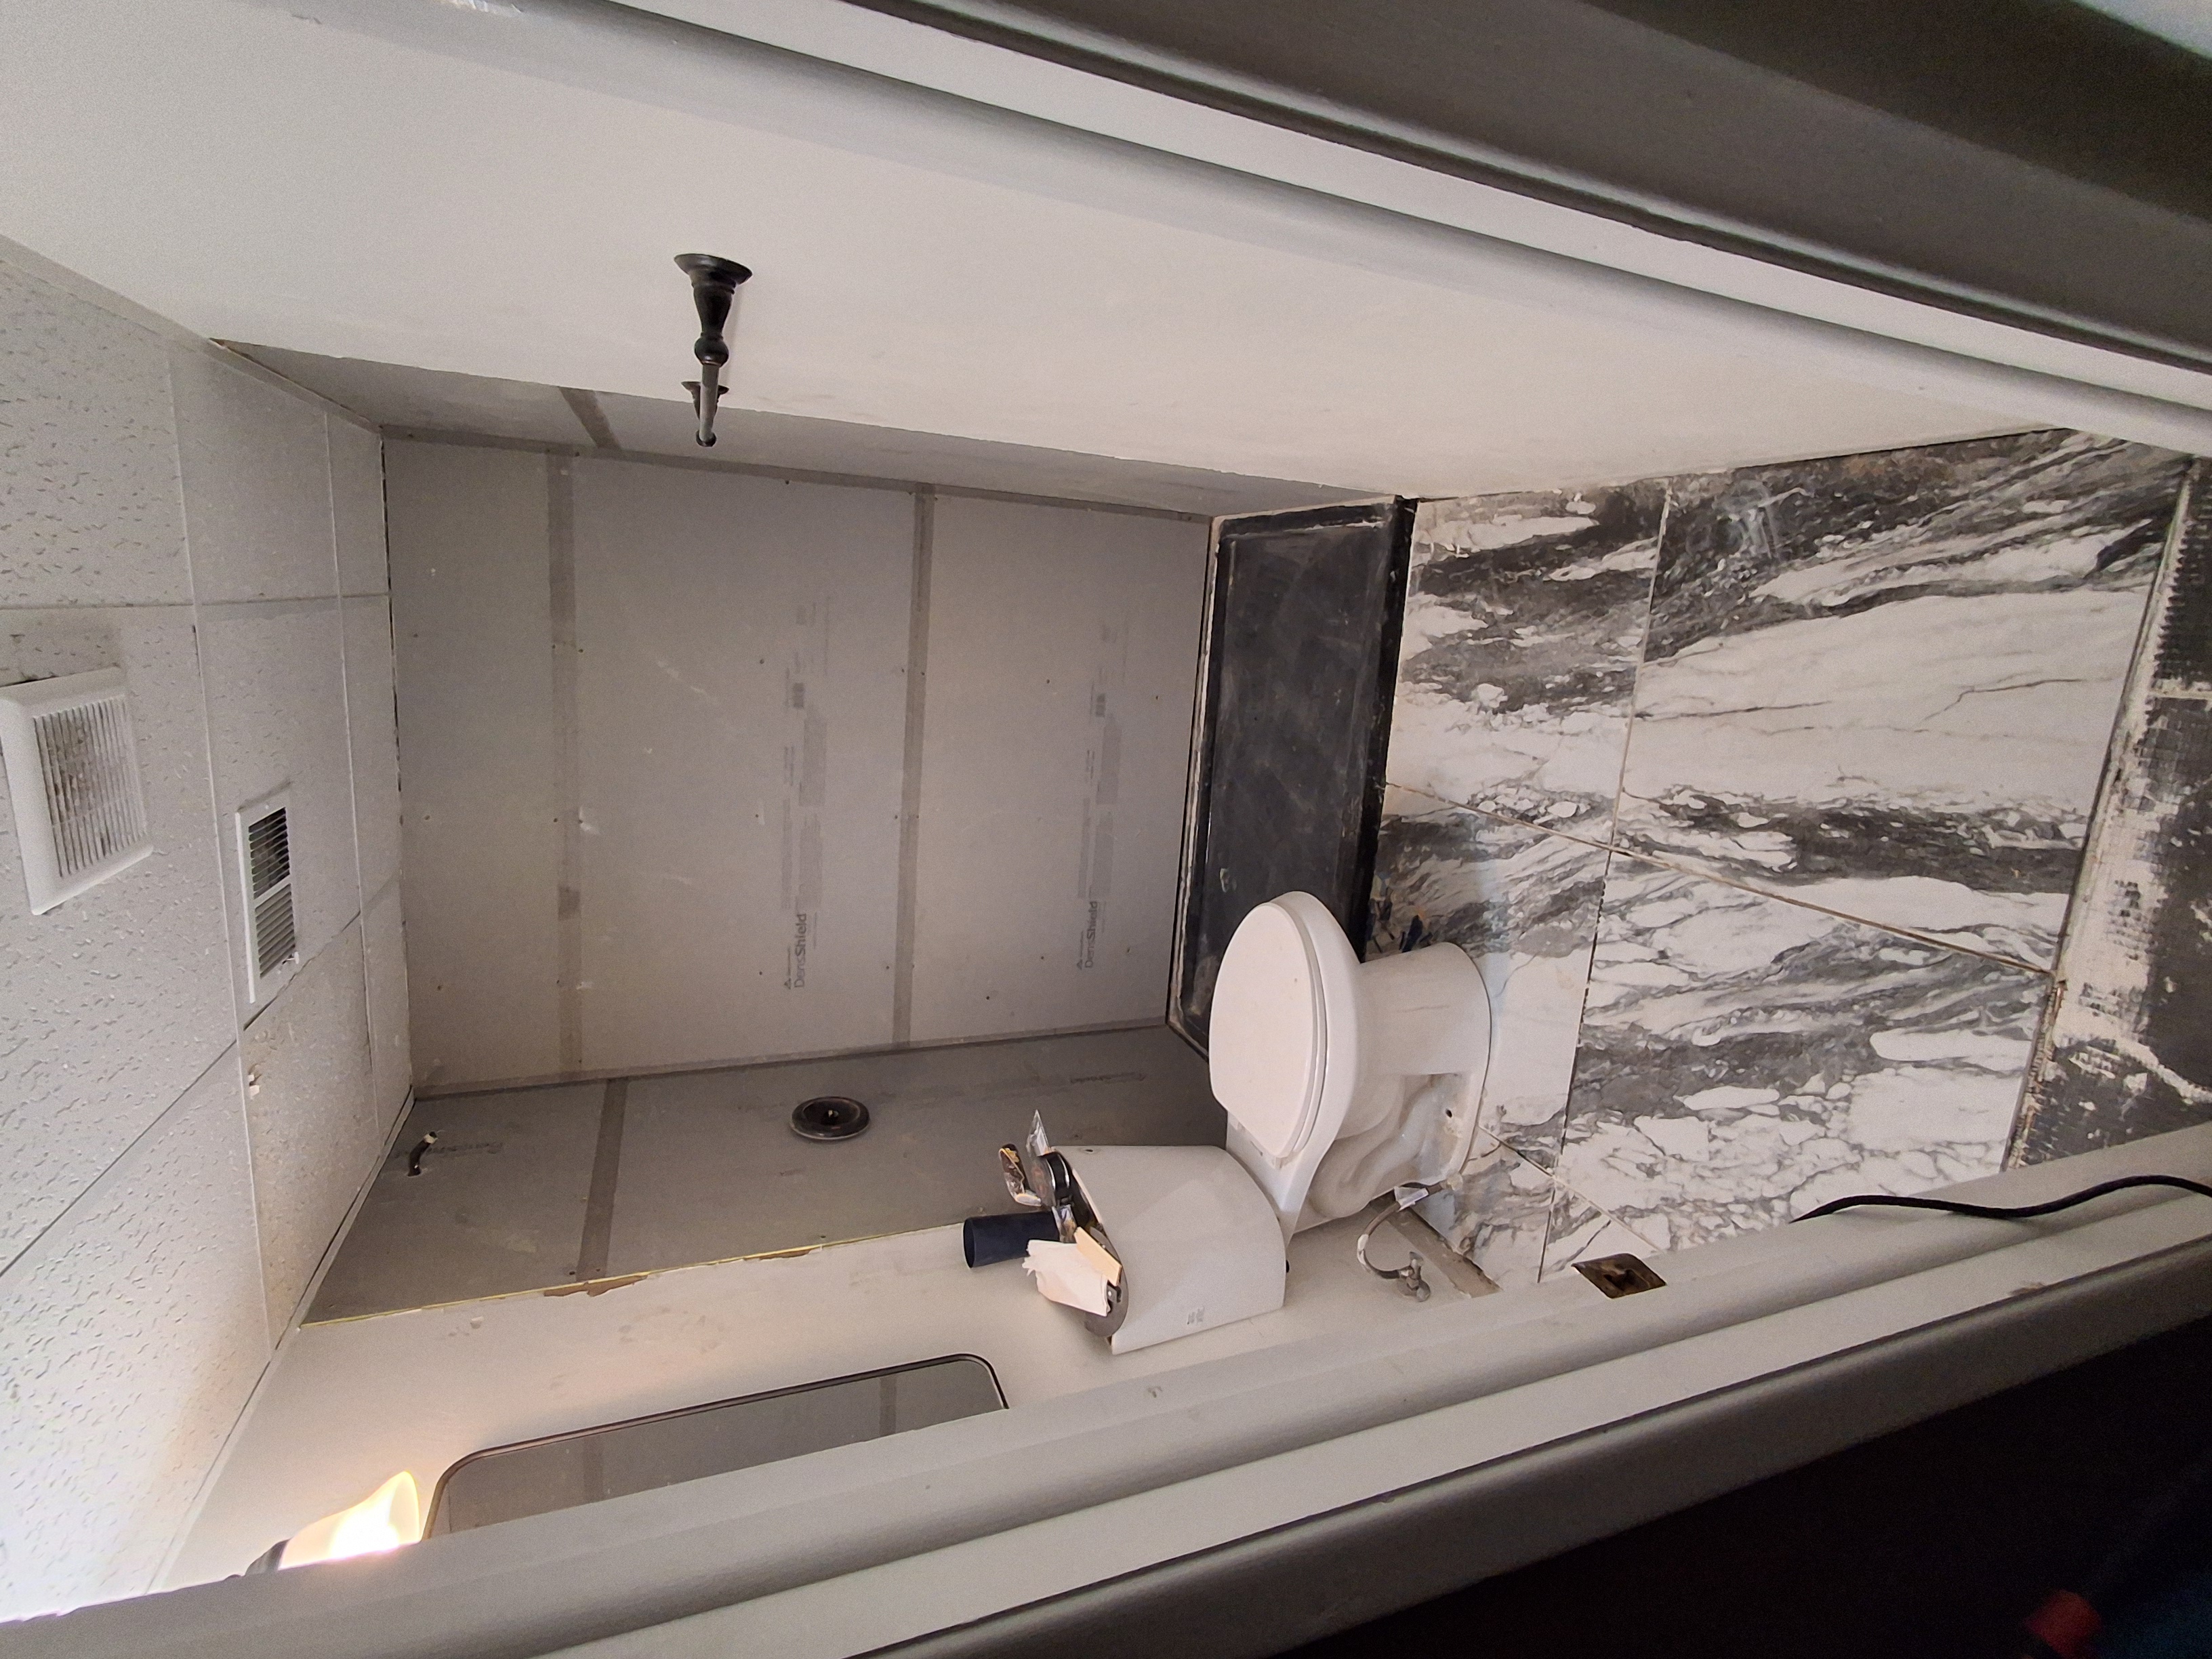
Once the furring strips were locked in, I installed DensShield, a lightweight, waterproof backing board. After driving all the screws into the furring strips, I sealed every screw hole with silicone and treated the surface with a RedGard alternative for extra assurance against moisture.
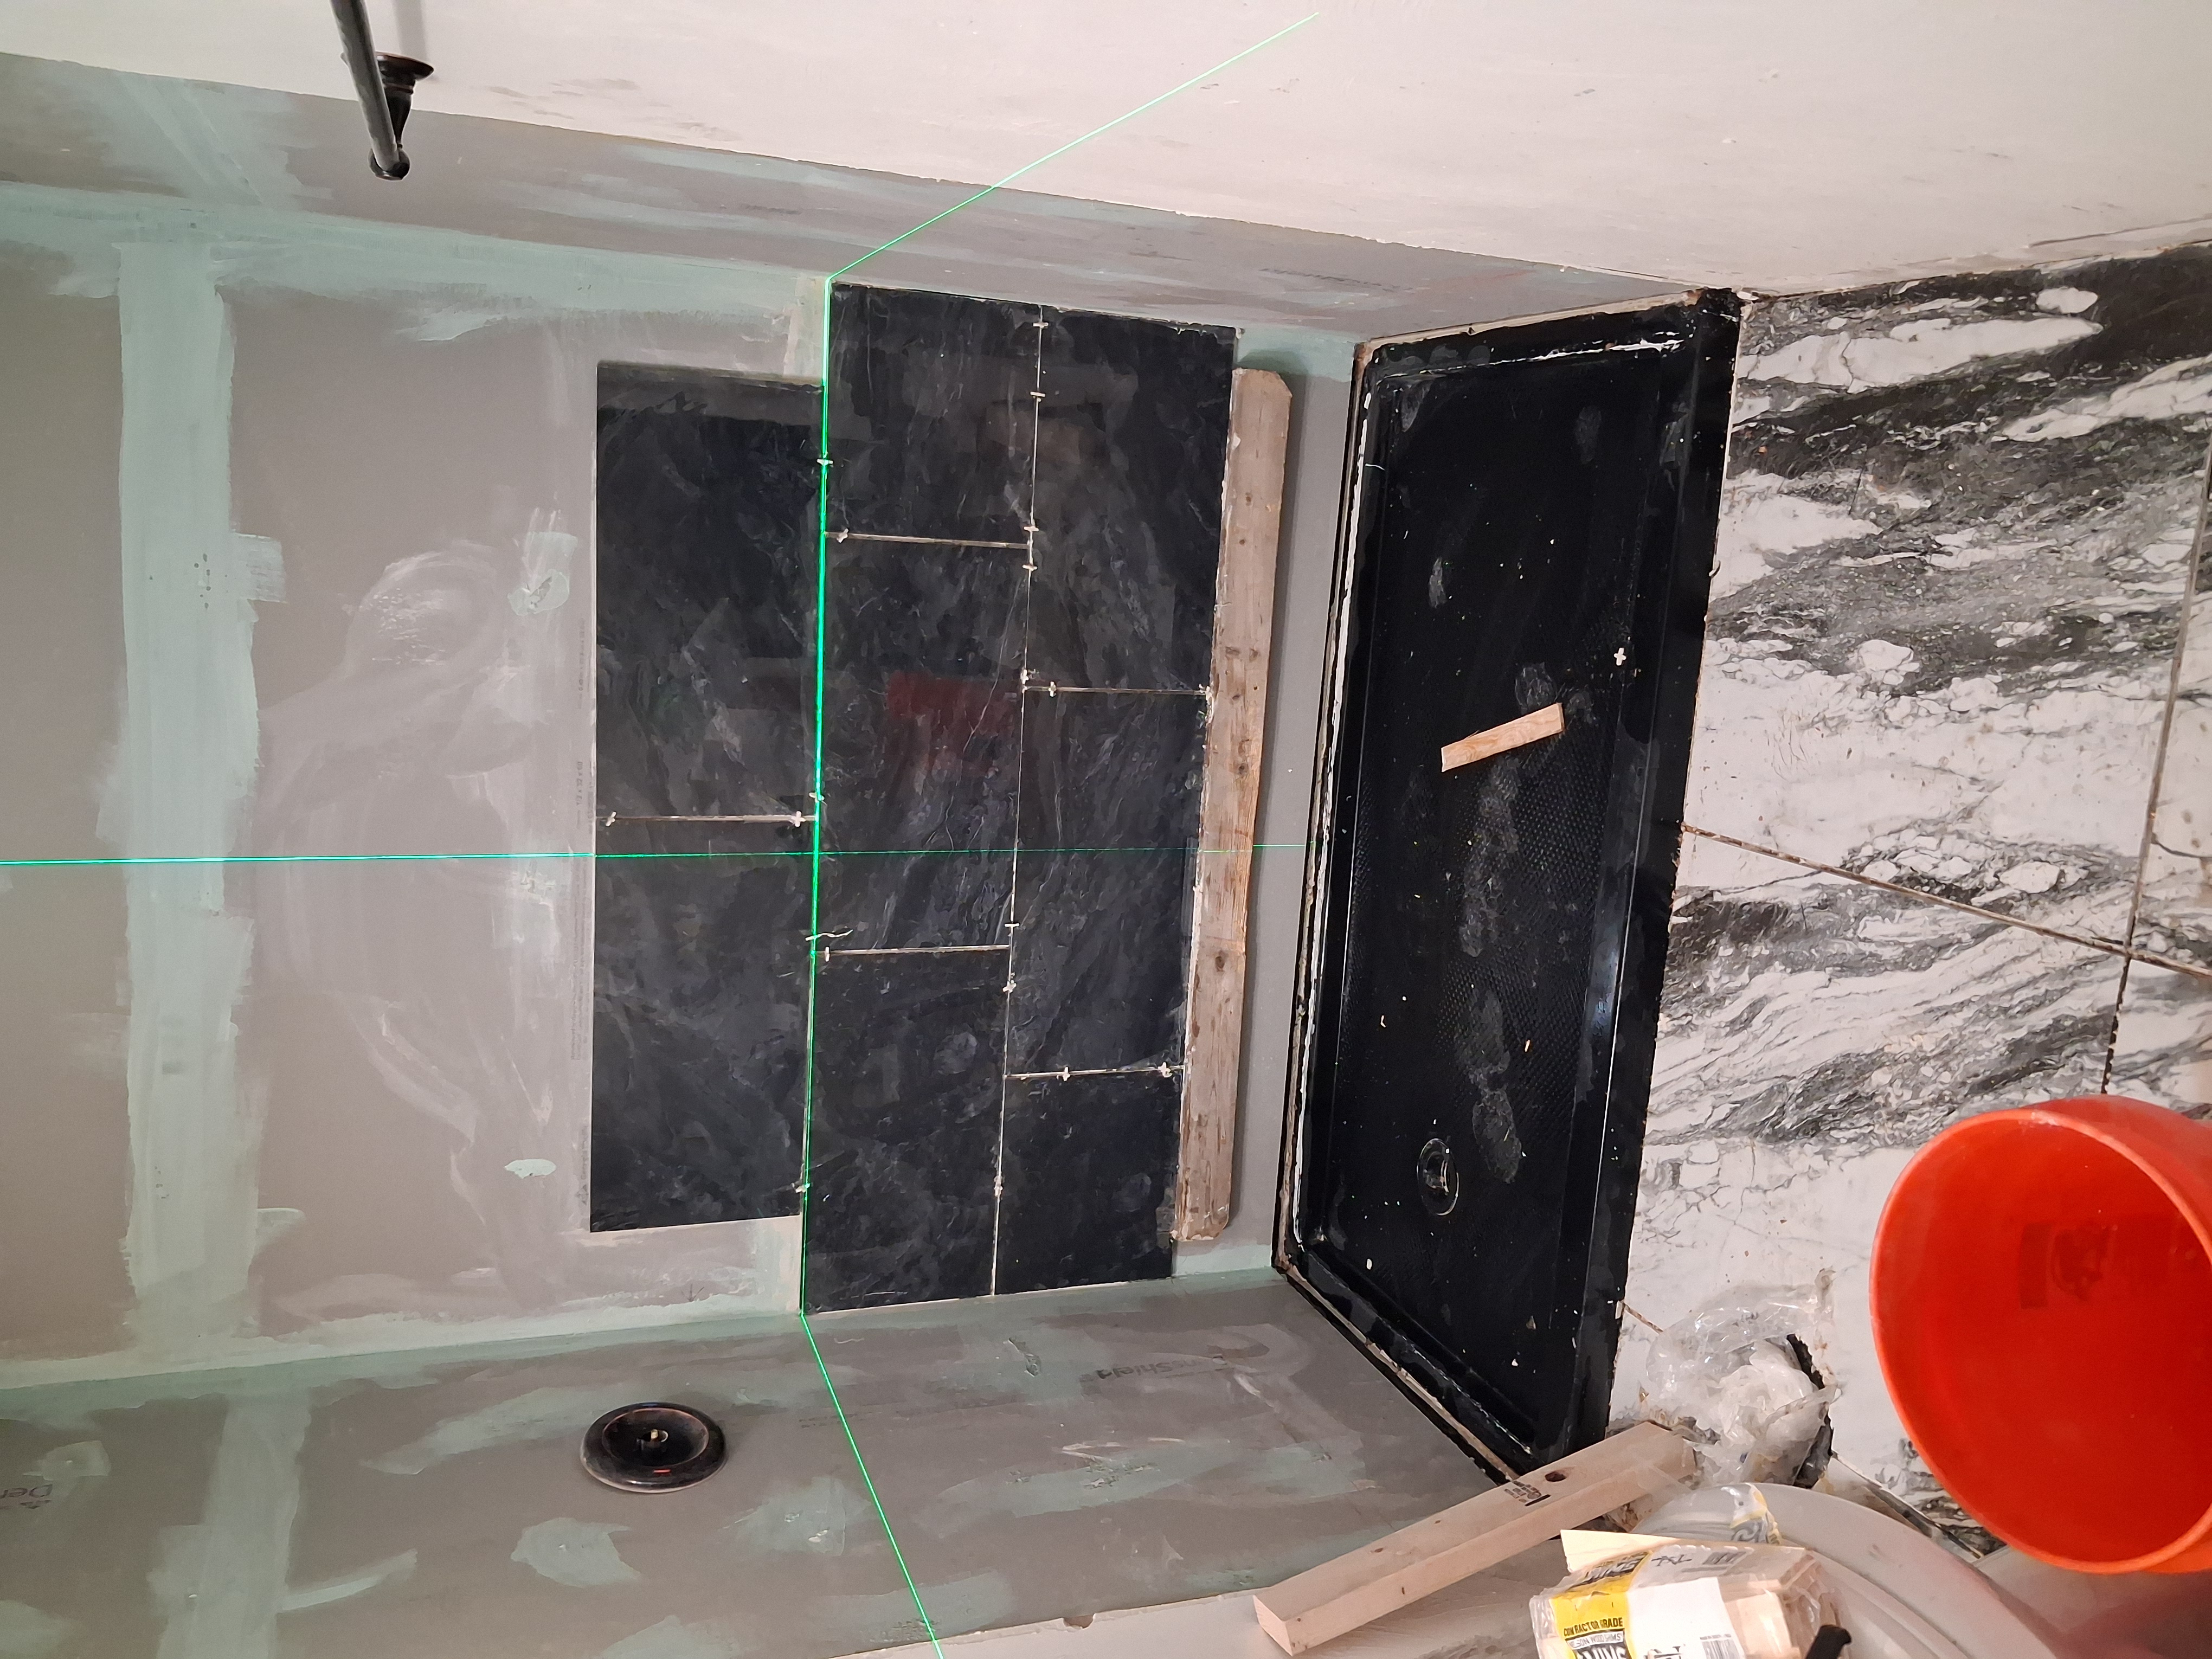
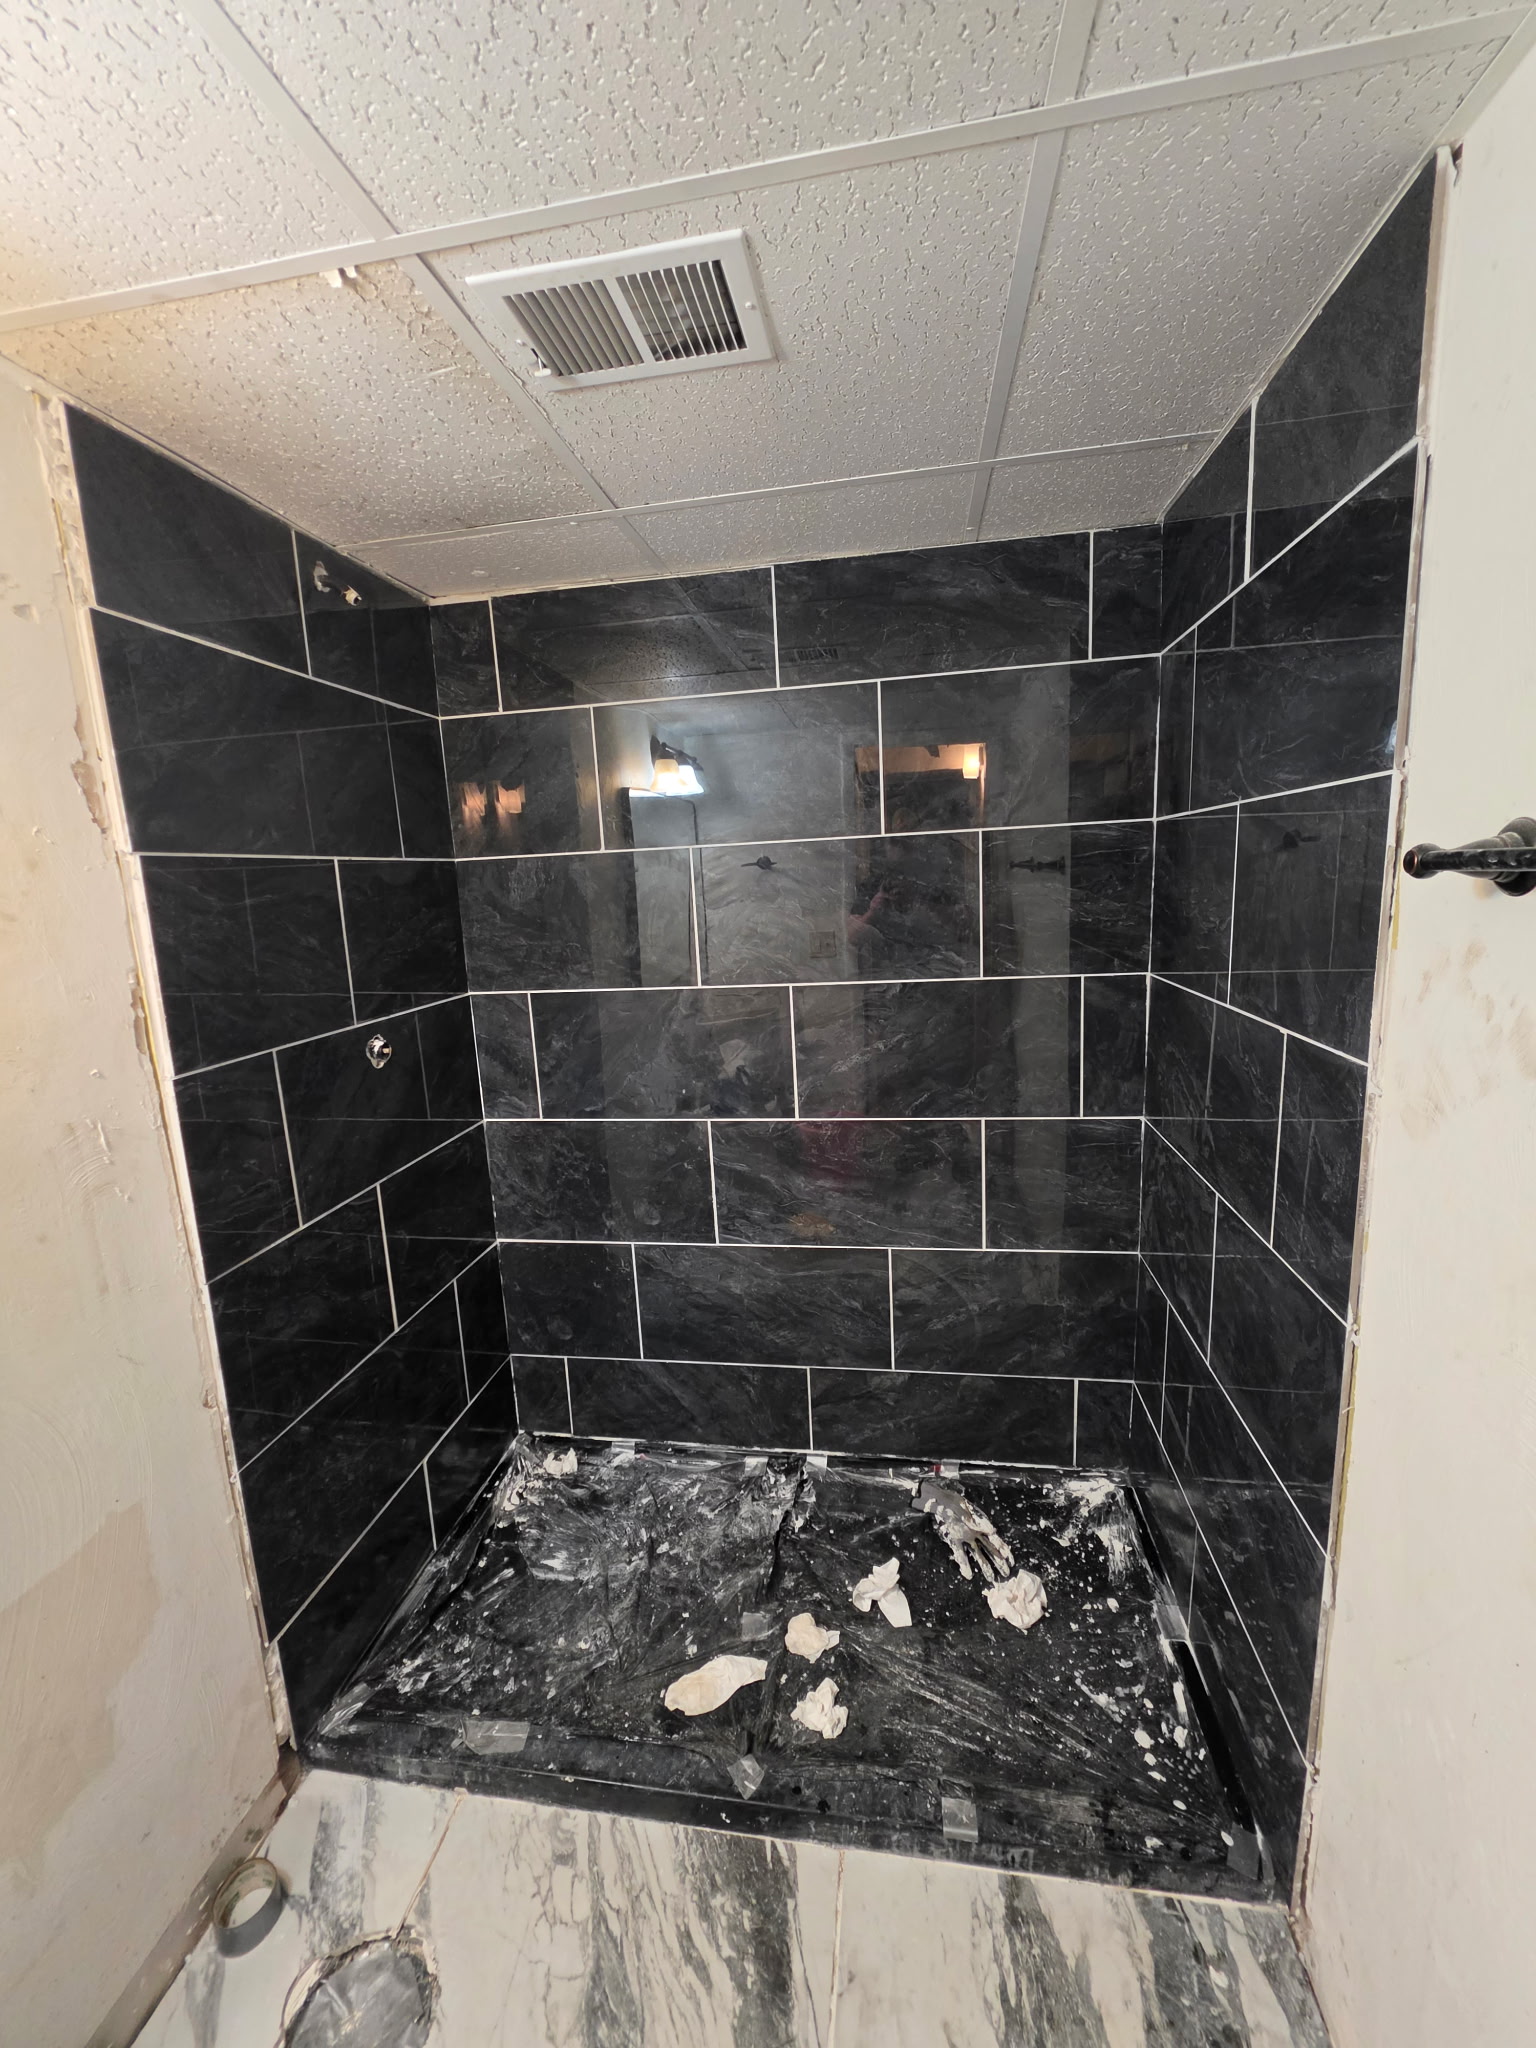
Finally, it was time for tile. I'm not the world's absolute best tile guy, but I can lay a straight line of tiles using my laser level to keep everything even. Once the wall tiles were set, the space really began to look complete.
Building out the shower and continuing the tile workWallboard and tile progress
We reinstalled the toilet and put in a new vanity. For the finish work around the shower, I used half-inch aluminum L-brackets to give it a clean, high-end hotel look rather than leaving jagged tile edges against the drywall.
Lastly, I matched the wall texture using a simple broom or brush finish in the mud to blend it in seamlessly.
Finishing the shower tile layoutThe shower tile work nearing completion
The finished bathroom gave the cellar trolls a space they were happy to call their own.